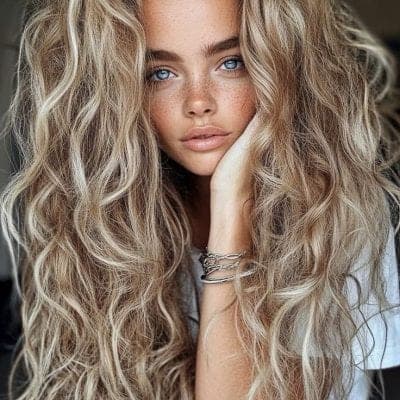


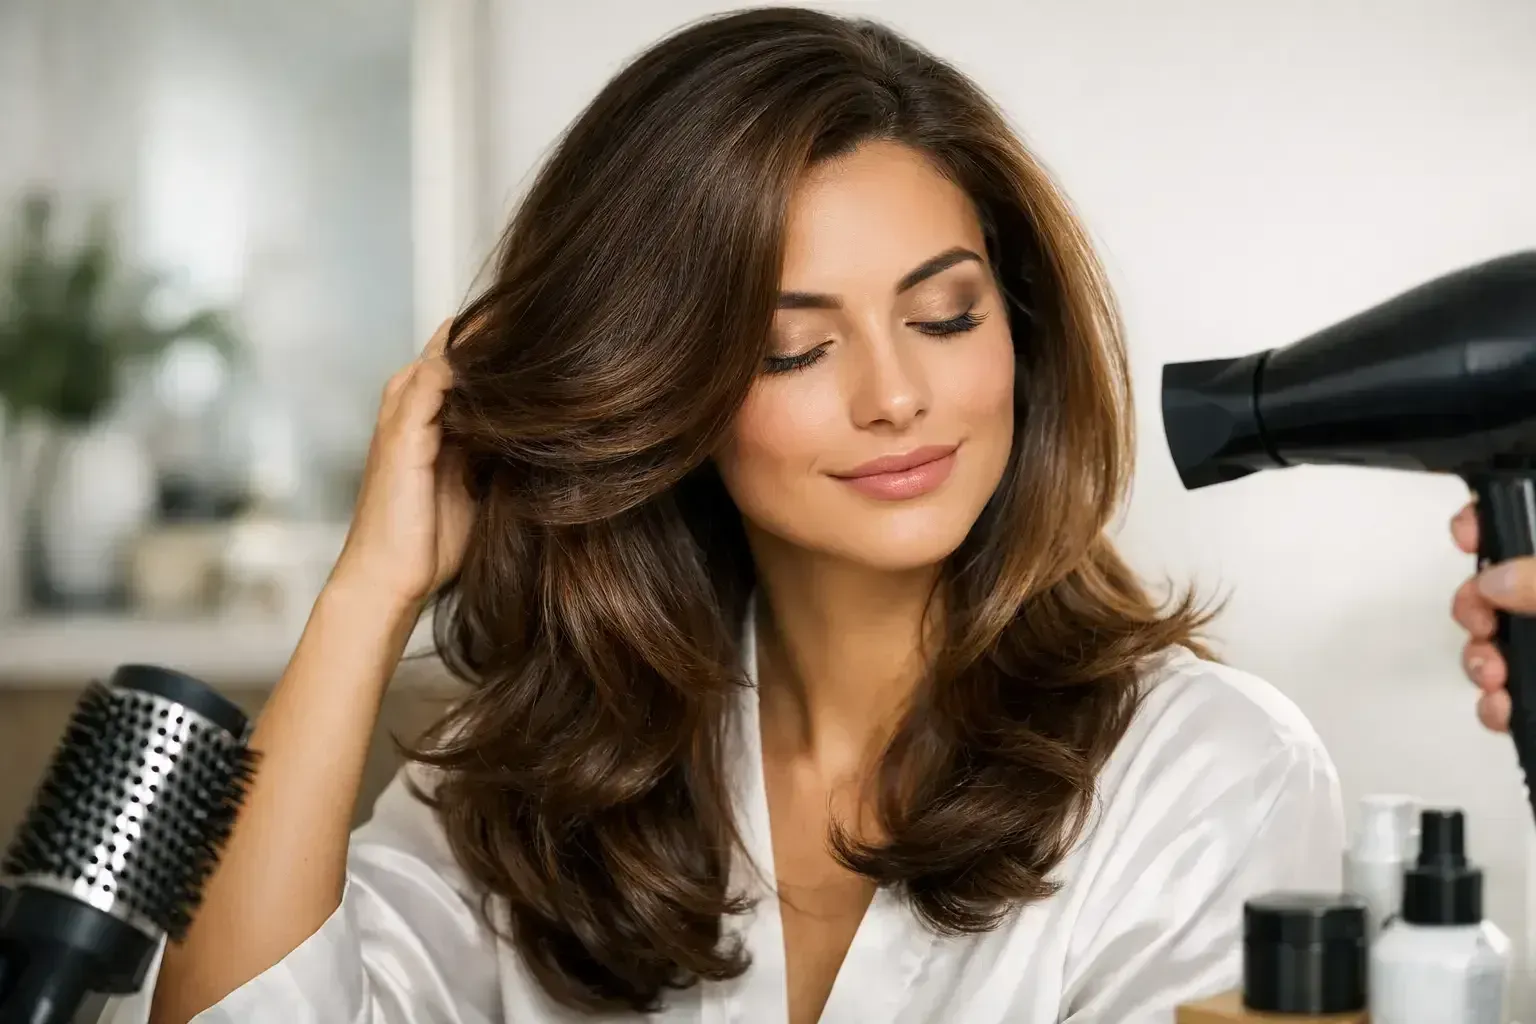
A fresh blowout changes more than your hair. It gives your whole look that polished, confident finish – smooth at the roots, soft through the lengths, and full of movement when you turn your head. Learning how to style a blowout at home takes a little practice, but the difference comes down to technique, not a cabinet full of products.
The goal is not to make your hair stiff or overly perfect. A beautiful at-home blowout should look touchable, lifted, and tailored to your own texture. Whether you love a sleek, glossy finish or big South Florida-worthy volume, start with the right foundation and let each section cool into shape.
Start With a Clean, Well-Prepped Base
A blowout lasts best when hair is clean but not stripped. Use a shampoo and conditioner suited to your hair type, then rinse thoroughly. Product buildup at the scalp can flatten volume before you even pick up a dryer, while overly rich conditioner can make fine hair fall faster.
After washing, gently squeeze out excess water with a microfiber towel or soft cotton T-shirt. Avoid rough towel-drying, which can lift the cuticle and create the frizz you will spend the next 30 minutes trying to smooth away. Your hair should be damp, not dripping, before you begin styling.
Apply a heat protectant from mid-lengths through ends, then add one targeted styling product. Fine or flat hair usually benefits from a lightweight root-lifting mousse or volume spray. Thick, dry, color-treated, or naturally textured hair may need a smoothing cream or a small amount of blow-dry balm. More product does not mean more hold – it can mean heavier, less bouncy hair.
Choose Your Blowout Finish First
The brush, product, and direction of your airflow should match the look you want. For smooth, polished hair, use a medium or large round brush and work with tension. For fuller, softer volume, reach for a larger brush and focus on lifting at the root. If your hair is very curly or prone to humidity, rough-dry it most of the way before introducing a brush so you are not overworking one soaking-wet section at a time.
How to Style a Blowout at Home, Section by Section
A salon-quality finish comes from clean sectioning. It may feel slower at first, but it actually prevents you from repeatedly drying the same pieces while the underneath remains damp.
Part your hair as you normally wear it. Then divide it into at least four workable areas: bottom back, upper back, and each side. Clip everything up except the first lower section. If your hair is thick, long, or has extensions, create smaller sections. A section should be no wider than your brush and thin enough for heat to travel through it evenly.
Begin by rough-drying the roots until your hair is about 70 to 80 percent dry. Keep the dryer moving and point the nozzle downward to encourage a smoother cuticle. Then place the round brush under your first section close to the roots. Pull the hair upward and away from the scalp, keeping gentle tension as you follow with the dryer.
Aim the airflow down the hair shaft, from roots to ends. This detail makes a visible difference: blowing air upward can create frizz and disrupt shine. Move slowly enough to dry the section completely, especially at the roots. If any dampness remains, the style will loosen almost immediately in Florida humidity.
When the section is dry, roll it around the brush once or twice, give it a brief burst of heat, and then a cool shot. The cool shot helps set the shape. Release the hair carefully rather than yanking the brush out, and avoid brushing through it right away.
The Root Lift That Creates Real Volume
For a bouncier finish, lift each section straight up or slightly forward at the root before directing it back. On the crown, overdirect the hair to the opposite side of your part as you dry it. Once it cools and falls back into place, you get natural lift instead of a flat, overly sprayed result.
If your bangs or face-framing layers need extra shape, style them before they dry in an awkward direction. Use a smaller round brush for more control, then roll the section away from your face. A gentle bend around the cheekbones can make the whole blowout feel more intentional and flattering.
Use the Right Tools Without Overcomplicating It
A powerful dryer with a concentrator nozzle is the biggest upgrade for a smoother at-home result. The nozzle focuses air exactly where you need it and keeps the cuticle lying flatter. A ceramic or boar-bristle round brush can add shine and tension, while a vented brush speeds up the initial rough-dry phase.
Brush size matters. A large round brush creates a looser, more glamorous bend and works beautifully on medium to long hair. A smaller barrel gives shorter hair, layers, and bangs more curve. If you cannot manage a traditional round brush and dryer at the same time, a blow-dry brush can be a helpful alternative. The trade-off is that it may not give the same root tension or customized shaping as a dryer and round brush.
Keep your dryer on medium heat whenever possible. High heat is useful for very thick or coarse hair, but using it on every pass can dry out color-treated ends and leave hair looking dull. Control and airflow matter more than maximum temperature.
Let the Blowout Cool Before You Touch It
The most common at-home blowout mistake is styling hair beautifully, then immediately running fingers through it. Hair needs time to cool in the shape you created. Let each section sit as you move to the next one, or secure freshly dried crown sections in large rollers for added volume.
Once all sections are dry and cool, gently separate them with your fingers or a wide-tooth comb. Do not aggressively brush from root to end unless you want a softer, more relaxed finish. For a sleeker look, smooth flyaways with the tiniest amount of lightweight finishing cream. For extra lift, use a dry texture spray at the roots rather than coating the entire style in heavy hairspray.
A flexible-hold spray is ideal when you want movement. Strong-hold spray has its place for bridal styling, updos, or a special event, but it can make an everyday blowout feel rigid. The best finish is one that still looks beautiful when the breeze hits it.
Make Your At-Home Blowout Last Longer
A well-executed blowout can carry you through several days with a few smart habits. Sleep with your hair loosely gathered in a high, soft ponytail or use a loose top bun secured with a silk scrunchie. A silk or satin pillowcase can also reduce friction, especially if your hair is lightened, extended, or prone to frizz.
On day two or three, refresh only the areas that need help. Dry shampoo at the roots can absorb oil and bring back lift, but apply it before your scalp looks overly greasy. Use a large round brush and dryer for a quick refresh around the hairline, bangs, and crown. You do not need to restyle every inch.
Humidity changes the equation. If your hair expands easily, use a humidity-resistant finishing product sparingly and keep a mini smoothing cream on hand for touch-ups. Hair that has been professionally smoothed with a keratin or Brazilian blowout treatment may dry faster and stay sleek longer, while natural texture may need more intentional product and sectioning. Both can look stunning – the right approach depends on your hair’s condition, density, and desired finish.
When a Professional Blowout Makes the Difference
At-home styling is a great skill for your everyday routine, but there are moments when a professional touch creates a completely different result. Before a wedding, photoshoot, dinner, vacation, or major event, a salon blowout can give you lasting shape, polished volume, and styling that works with your color, extensions, haircut, and natural texture.
At Pier Blondie, every blowout is treated as part of the full beauty picture, whether you want sleek and glossy, big and bouncy, or softly styled for an occasion. Bring your inspiration, ask about the products and brush technique used on your hair, and take that personalized knowledge home with you. The best blowout is not just the one that looks beautiful when you leave – it is the one that makes you feel ready to show up.